Let’s complete with STEP 3-4-5 our 5SR-Workflow®.
Here it is what we’ve done so far: Placing 3d Model(1) > Light Balance(2)
Topics of this lesson:
- Simulate rusty material
- cutout filter for perfect bump effect
- how to use V-Ray Lens Effect
- How to correct images with levels/curve in VFB (V-Ray Frame Buffer)

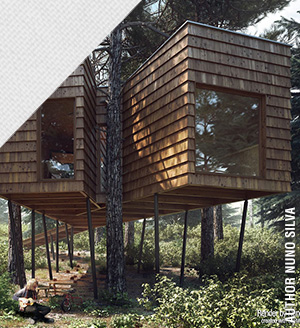
Let’s complete this scene.
STEP 3.1 : CREATE RUSTY MATERIAL

Our contents are created only by V-Ray Licensed Instructors®
To access this lesson and all premium contents, please
Login or Subscribe

 / Also Learn Corona Renderer
oh-ohhhhh!
wow I like V-Ray lens effect… it’s cool!!!
Thank you!!! :))))))))
Niiiiiiiiiiiiiiiiiiiice… I love this lesson, finally I understand mapped reflections!!! thank you
Hi Ciro, thank you for your sharing.
Hello Ciro.
So far I have used the glow effect in post-pro with photoshop. The bloom effect seems to me the same. What are the differences?
Hi Viktoria,
your way it’s good. On the other hand you should to buy photoshop to do that. Of course this bloom is calculated on the real light so is more accurate. Anyway… there’s no difference if you have a result to reach in you mind.
The concepts are clear and the result impressive. Gracias!
Hola Ciro esta muy bien este tutorial, como pudo actualizar el efecto sin que se vuelva a renderizar?
Hola Omar, creo es un bug de vray… espero una respuesta de chaosgroup en estos dias y pongo al dia el articulo 🙂