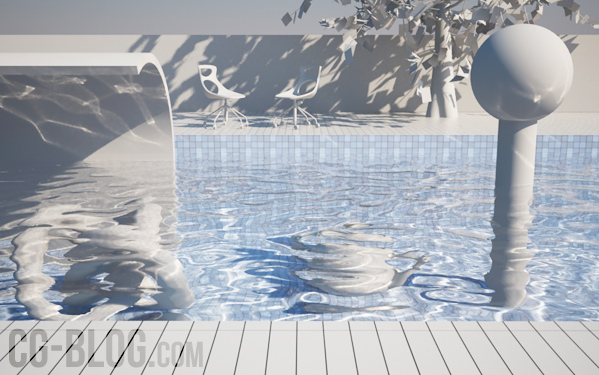
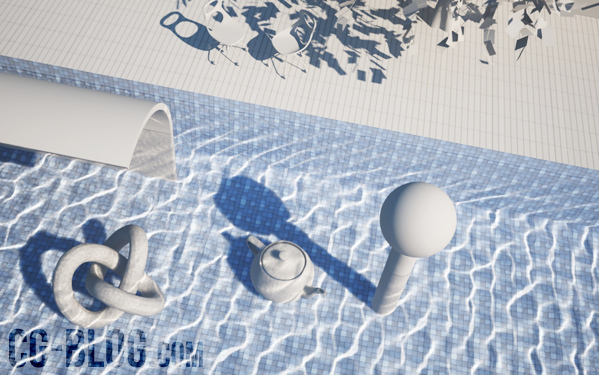
Today I show you how to setup caustics in V-Ray and getting this result:


In these years I worked a lot with live trainings (see here) and from the 2012 I will work online with you:Â 1 easy lesson per week we’ll learn a lot of things togheter.
This is our goal:
Give you easy, fast and comfortable knowledges about 3ds max + V-Ray + photoshop, every week.
Last year I wrote a post about Caustics here. It’s time to update those contents with an effective video and a couple of files to let you test and play with parameters. This is CG Blog Premium and for this time it’s free. Another gift for you… happy new year ^^
Watch, try, learn.
VIDEO:
VIDEO-SUMMARY:
- Important: disable Affect Shadows, to get caustics (this is not in the video!)
- Enable caustics
- Set Photon emit radius (V-Ray Sun)
- Increase Caustics Subvids (Vray Properties > V-Ray Sun)
EXERCISE :
- Now, download this file and repeat the exercise.
For any doubts check the “FINAL†version file.
( Files for 3ds Max 2009 or higher)
 / Also Learn Corona Renderer


Thanks a loooooooooot Ciro Sannino,
nice…
nice tuts and superb presentation 😉
Love that! Thanks a lot!
I am indebted to you … 🙂
Thanks you very much…
Is there a possibility that you could upload .3ds instead of?
Thanks any way
Hi Jennifer…
it’s Done!
a .3ds format has been added 😉
Thank you so much!
I work in Rhino v5 64bits and Vray 2.0 just came out for Rhino 5 and the only files I can open is 3ds..
Your tutorials are great and they work just the same with Rhino 5 🙂
Greetings!
Hall o sannino can i get this whole training CD as courier
Hi Ibrahim,
the training is in progress and we’re sharing it week by week for only 9$/month. When the course will be complete the final cost will be around 500$ (this subscription is just a special offer)
Thanks a lot
greate 🙂 tnx
Hehee, really handy workaround! Cheers!
Thank you ..
thank you .
too nice and thank you alot
Great tutorial! thanks a lot
Great tutorial! Short and powerful!
Grazie mille.
Tnx
amazing .. i love you toturial.. i wanna share with my friend..
excellent
Good one! Thank you! Will be great if it was vray light for interior scene!
i am looking for this……..thanks lot
amazing tutorial, thank you Mr. Ciro
Gracias, thank you!
Gracias, thank you
very good, :))
Thanks for this great tutorial.
Love that! Thanks a lot!
great tutorial.