In this lesson I’ll talk about Final Render and Post Production.

LESSON#38 – Framing & Light Balance (Step1-2)
- HD VIDEO / Narrated / 16′
- MAX FILES to download with all the V-Ray settings
- How to frame in studio;
- How to save time during the lighting set up;
- Give a form using the light;
- Butterfly bank light usage;
- Black flags usage;
- How to balance in a dark ambient.
This is the image you’ll be able to create at the end of this training:
[private Premium|Premium-1year]
Framing & Light Balance – Step 1-2
In this lesson we’ll apply the light balance concepts, to re-create a studio-type lighting. The hierarchy is always the same: Primary light >Secondary light > Fill light. Also pay attention to the trick about the framing: studio light often use central perspective.
Watch the next video to learn more about framing and light balance:
 CONCEPTS:
- Use central perspective for studio lighting set up;
- Rotate the objects rather the camera;
- Keep the camera in front to the background;
- Use small images to save time during the lighting setup;
- “Sculpt” the scene with light;
- Avoid secondary lights invading large areas;
- Use directional option to limit the lights;
- Don’t need fill lights in case of dark backgrounds.
WAYS TO GET QUICK FEEDBACKS:
As shown in the video lesson we can approach in different ways in order to get quick previews: at first we can consider to use very small images to start. 300 pixel width could be enought just to estimate the lighting impact on the scene. Not many people do that, but this simple trick can you save a lot of time!
The 3 ways to evaluate how the light balance is going along are:
1) Very rough render producion. Basically is TEST preset with:
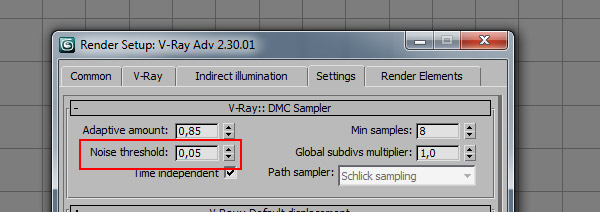
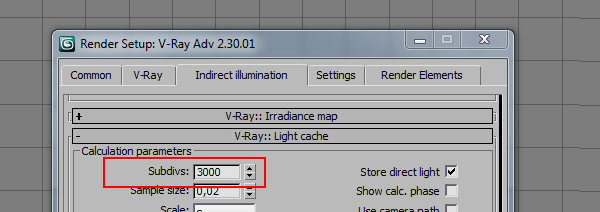
2) Longer Light Cache
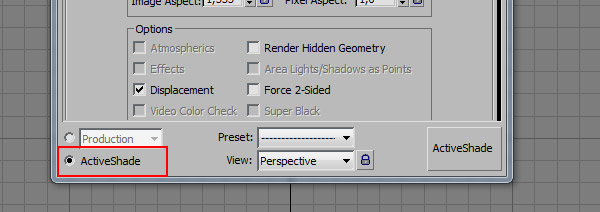
3) V-Ray RT
 EXERCISE:
In the START file, lights and camere are already placed but they still have their default values.
Set the camera as 5SRW suggests for interiors and re-create the light balance in the video using as referring the 3X3 rule (Remember this rule works only with shutter speed = 50):
To verify your exercise, please downlad the final version:
[/private]
 / Also Learn Corona Renderer

Great tips! Thanks for your lessons, Ciro!
On your “Dark Living – Final” You have color mapping set to Exponential.
I rendered both ways and the linear output is a bit brighter image
Just wondering why you set it to this – or perhaps you haven’t changed it to Linear yet?
Hi Kevin,
before to answer I have to ask you if you already studied the lesson #10? This is about linear and exponentian color mapping meanings.
Yes I have studied lesson 10. (sorry for late reply)
Thanks to you!…. I always try to use Linear color mapping now.
Only using Exponential when solving for overexposure!… and then fixing contrast in Photoshop.
I do a lot of studio rendering for work (furniture renders). So this particular lesson is very interesting to me.