Photoshop Tutorial – How to remove unliked highlights so quickly!
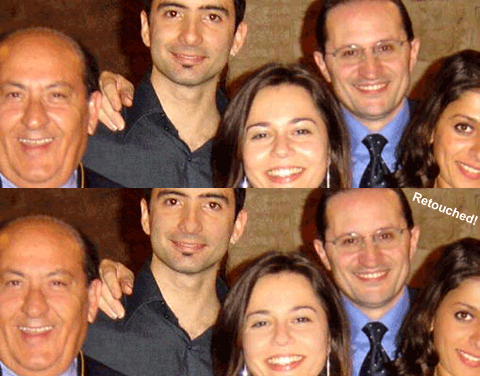
Very, very often we take a nice pics, with dear friends or beautiful girls/boys… but unliked higlights fills our visages! Especially in interiors shots, using the flash…
With Adobe Photoshop and my veeery fast and simple technic you can improve your pics quality in just 30 seconds!
Let me show you how it is possible: Very simple and fast!
1. Open your Pic, duplicate the Level and apply it two Photoshop filters:
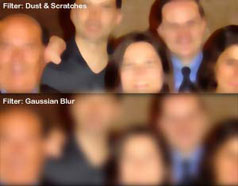 —> Filter > Noise > Dust & Scratches
(Radius: 8 pixels, Threshold: 0 levels)
and following…
—> Filter > Blur > Gaussian Blur
(Radius: 8 pixels)
You’ll have an image like that.
 2.
2.
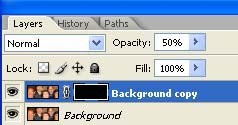
Add a Vector a Mask and paint it Black
Now give to this new layer:
opacity 50%
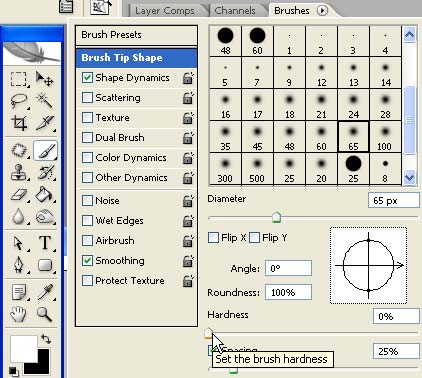
3. Choose Brush tool and give it 0% Hardness. Select white color to paint.
 4.
4.
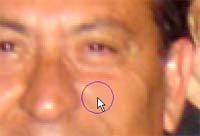
Choose the Brush Tool size that you prefer and paint on the mask, everywhere your see unattractive highlights!
Just some little suggestions:
– Don’t paint over the features
– After, play with opacity to find the perfect match!
– This technic is perfect also to get wonderful visages
Your pic will be much better in just 30 seconds!!!
If you love photoretouching I suggest to visit this Blog that I read: Pstutorialsblog.com – Photoretouching
- If you like this Tutorial subscribe my Feeds and take a look to Glass with Photoshop!
 / Also Learn Corona Renderer


